I submit to you, the most annoying project ever. Okay, maybe not quite as annoying as my earring hanger/organizer project. But a close second. Annoying enough to drive me to eat chocolate chip cookie dough ice cream out of the carton. Hey, it’s a small carton!
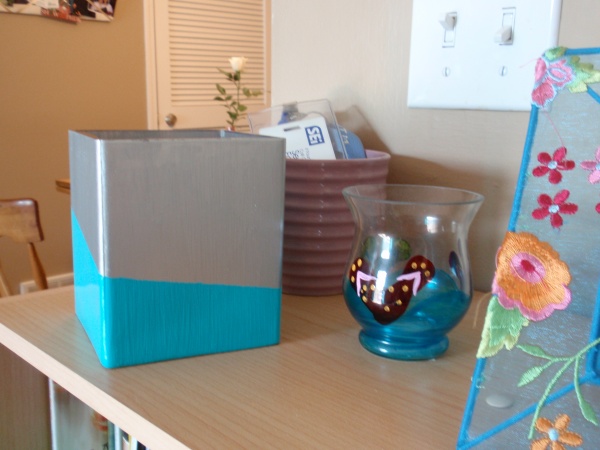
Remember when my dip-dye fetish resulted in this cute little glass container? Well, it’s been sitting on my kitchen counter, looking all gorgeously domestic and cute. But the utensil holders next to it…
Kinda “meh.”
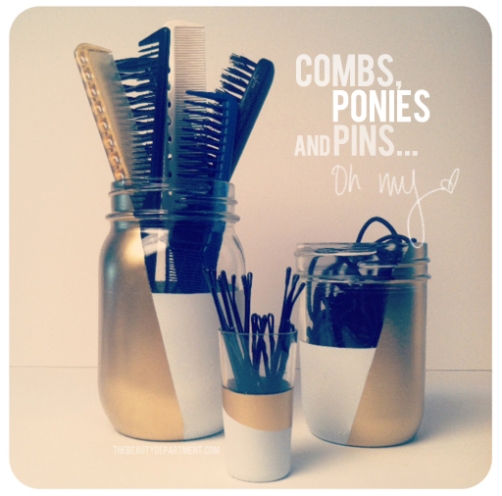
I was rinsing out a salsa jar when I had the brilliant (at the time) idea to dip-dye paint a few jars and make matching utensil holders. This was supposed to be a quick little project that I’d work on in between coats of paint on the end table. But nooooo.
Humidity. Is. The. Devil.
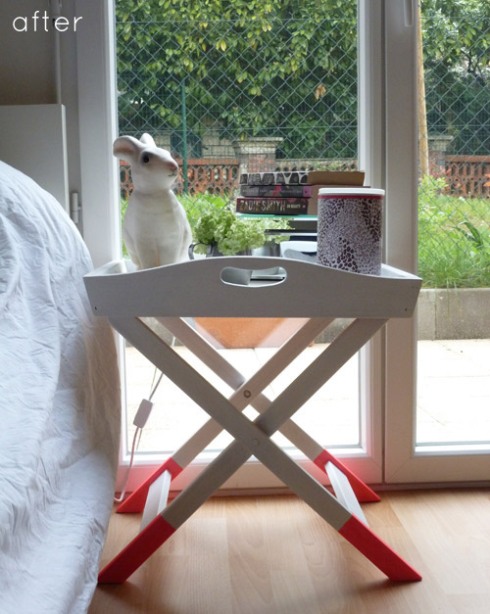
I’m blaming all my problems on the humidity. Every time I peeled the painters tape off, the paint came with. Or it just left weird, bubbly warped edges. So my quick little project turned into constant attempts to repaint/fill in bare spots. I have no idea if the humidity really is to blame, but I do know that paint takes longer to cure in humid environments (hence why the end table is getting two nights in between coats of white now).
Eventually I just decided it was “good enough.”
Honestly, I’m not loving them as much as I love the square guy. I have a few more pasta sauce and salsa jars, so there may be an update in the future. I also kind of feel compelled to throw my “van gogh-esque” container in the middle to mix it up visually a bit. That container was a pre-blog project, painted with acrylic paint and actually sprayed with acrylic sealer.
Has anyone else had problems with humidity and painters tape? Maybe painters tape is not meant for acrylic paint?


